ADORE LAYOUT TUTORIAL - KYLIE KINGHAM

Shop the products
Uniquely Creative Products Used:
- UCP2753 Bella Paper
- UCP2755 Tiger Paper
- UCP2759 Indie Paper
- UCP2762 Willow & Grace Creative Cuts
- UCCS130 Willow & Grace Cut-a-part sheet
Add-ons:
- UCD2149 Lace Bunting die
- Willow & Grace cardstock bundle
Other Products Used:
- Trimmer
- Scissors
- Adhesive tape
- Foam squares
- Brown ink
- Brown journal pen
- Manual die cutting machine
- Distress tool
Instructions:
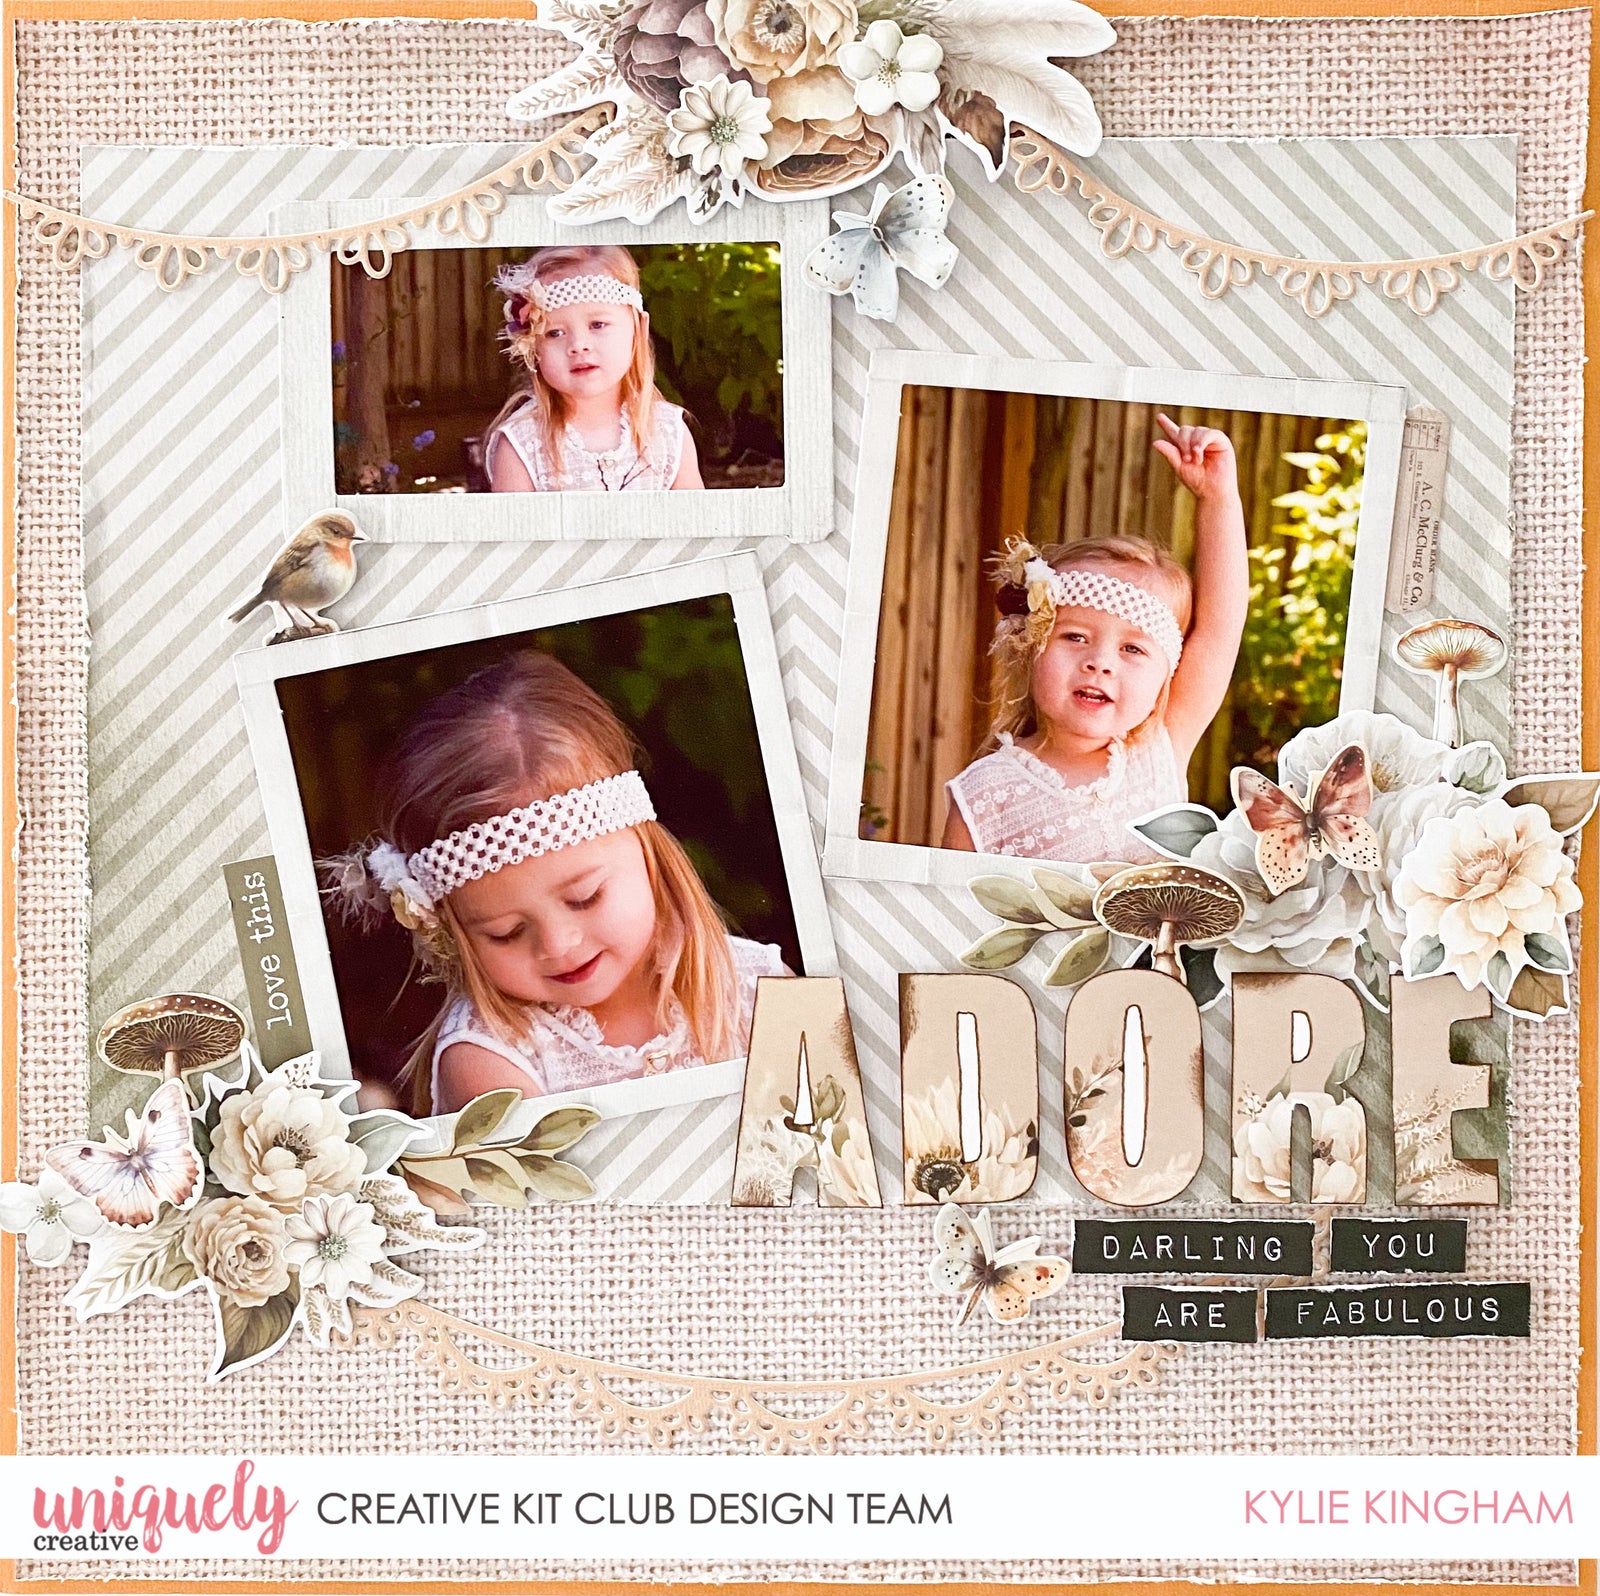
- Trim a sheet of UCP2759 Indie paper to measure 11.75” x 11.75”. Distress the edges a little and adhere to a sheet of the Dandelion cardstock, included in the Willow & Grace cardstock bundle. (TIP: to conserve cardstock you can ‘gut’ or remove the centre of the cardstock first.)

- Trim a sheet of the UCP2755 Tiger paper to measure 10.75” x 8”. (TIP: Try to keep the ‘V’ shape print of the paper centred when you cut the width.) Distress the edges a little and adhere to the layout, centred and 1 inch down from the top edge.

- Back three of the frames in the Creative Cuts pack with a photo. Adhere these to the layout.
- Using the Lace Bunting die, cut two of the smaller buntings and one of the larger from Summer Wheat cardstock. (Included in the Willow & Grace cardstock bundle.) Adhere the two smaller buntings across the top of the page and the larger towards the base.

- Fussy cut the ADORE title from the cut-a-part sheet. *Optional- Add some brown ink to the edges and outline the letter centres with a brown journal pen to help it stand out. Adhere to the lower right side of the page with foam squares.

- Add some clusters of Creative cuts to the layout. Use foam squares to help build dimension for your page.

- Trim the branding strip from the UCP2753 Bella paper and cut some of the word phrasing apart from the reverse side. Adhere these below the title using foam squares.
