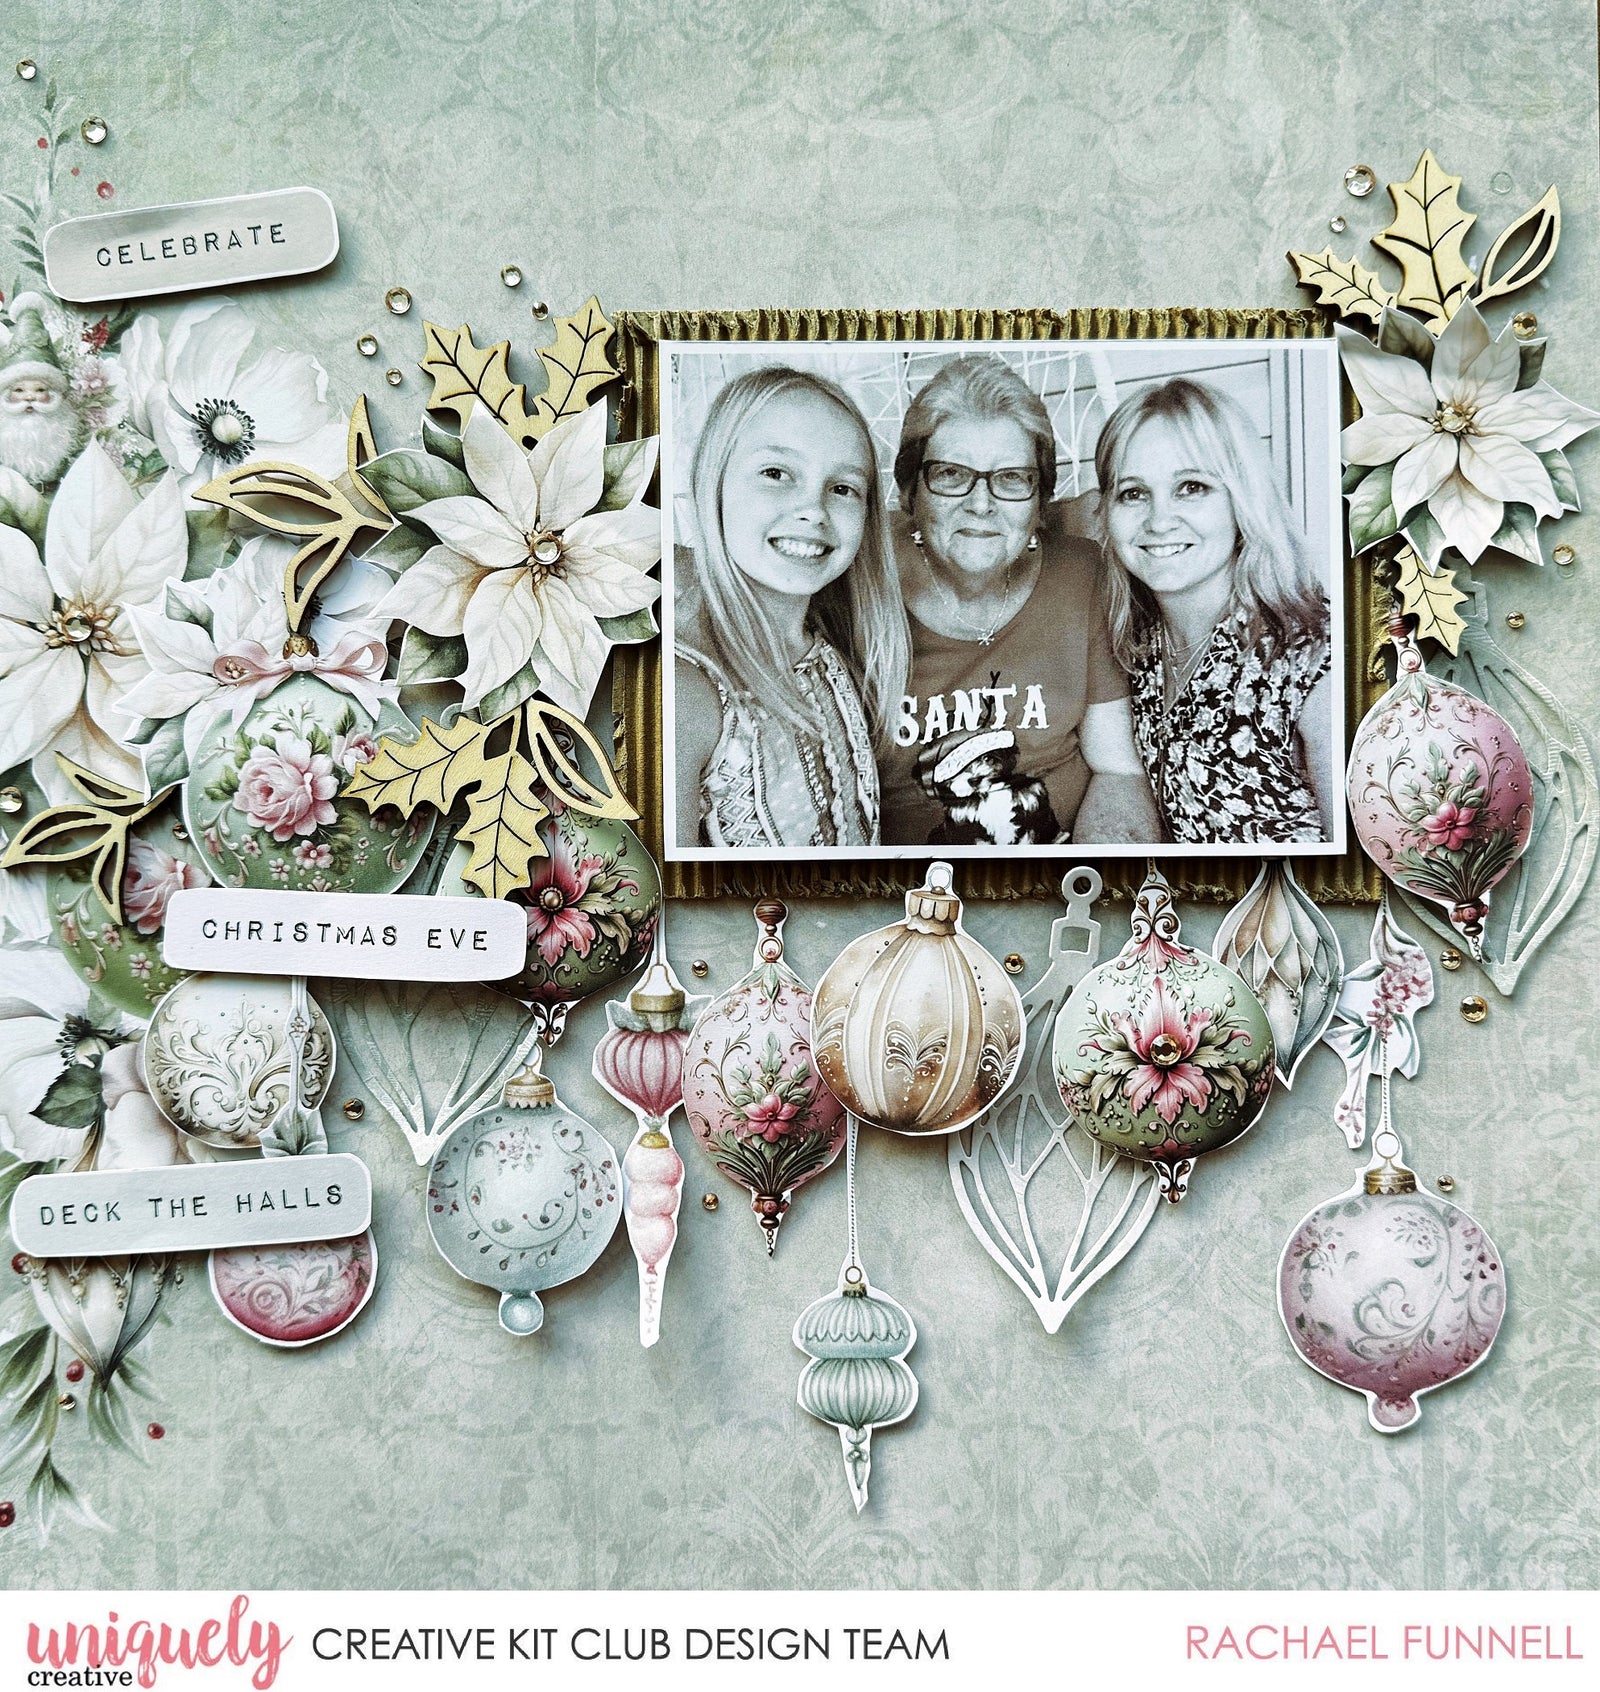
CHRISTMAS EVE LAYOUT TUTORIAL - RACHAEL FUNNELL

Welcome to our September collection - Christmas Wishes!
It's time to start getting festive.
To recreate this amazing layout created by Design Team member Rachael Funnell you will need the products listed below:
Shop the products
Uniquely Creative Products Used:
- UCP2799 Making a List Paper
- UCP2801 Decorations Paper
- UCP2803 Wishes Paper
- UCP2805 Christmas Wishes Creative Cuts
- UCL1809 Corrugated Card
- UCE1750 Champagne rhinestones
- Christmas Wishes Cut-a-part sheet
Add-Ons Used:
- UCD2156 Christmas Decorations die
Other Products Used:
- UC foam dots
- UC Sanding Block
- UC scissor
- Adhesive tape, glue
- Die cutting machine
Photos size is 3 ½ “x 5 ” with a white border
Instructions:
- Use a piece of the making a list paper, as the base of your layout and remove the branding strip.
- Cut a 4 ½” x 5 ¾” rectangle from the centre of the corrugated card, sand all four edges with UC sanding block. – See image 1.

- Adhere your photo using foam dots, then adhere your photo to the slightly to the right side of centre of your layout (making a list).
- Using the three die cut out Christmas decorations/teardrop shape bauble that was cut out and set aside from my other layout ‘Merry Christmas’ with instructions. Otherwise using the reverse of a sheet of Decorations paper cut a 3 ¾”x 5 ¾” rectangle die cut out three the Christmas decoration die the teardrop shape bauble and adhere these to the base of your layout. – See image 2.

- Select and fussy cut out a few of the Christmas decorations/baubles from a piece of the Wishes paper and adhere all of these with foam dots underneath the photo.
NOTE: I have double up on the foam dots with some of these decorations/baubles.
- From the creative cuts select the four Christmas decorations/baubles, fussy cut away the white border and adhere these using foam dots. – See image 3.

- Fussy cut out two of the cream poinsettia from the cut-a-part sheet adhere one to the left of photo and the other to the right of photo.
- Adhere a couple of the holly laser cut stickers, to the left & right side of photo. –See image 4.

- From the cut-a-part sheet select and fussy cut out three sentiments, then adhere to the left side of layout using foam dots.
- Add a few of the Champagne Rhinestones to finish – See close up & main image.
