CRAFTY DAY LAYOUT TUTORIAL - MARIA ALOISI
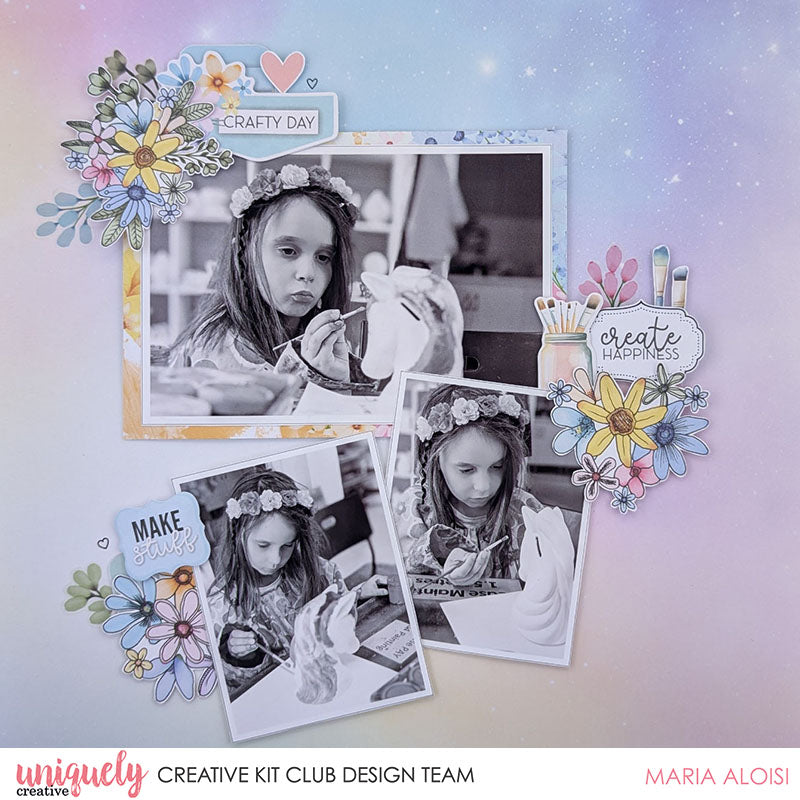

To recreate this adorable layout created by Design Team member Maria Aloisi you will need the products listed below:
Uniquely Creative Products Used:
UCP2281 Pastel Dreams Paper
UCP2882 Light & Bright Paper
UCP2885 Glowing Up Growing
UCP2888 Radiant Life Paper
UCP2889 Colour Crush Creative Cuts
UCP2892 Colour Crush Vellum Creative Cuts
UCE2058 Colour Crush Rub-ons
UCE1945 Fineliner Pens
UCE1803 Foam Mounts Squares & Strips
UCE1859 6mm Double Sided Tape
UCE1872 Fussy Cutting Scissors
Other Products Used:
Paper trimmer
Photo Size: 1 x 6” x 4” landscape, 2 x 3” x 4” portrait
Step 1:
Use the Light & Bright paper for the base. Remove the branding strip.
Step 2:
Mat the 6” x 4” photo with the Pastel Dreams paper. Using foam tape, adhere to the base, 2” from the left edge and 2¼” from the top. Add the two smaller photos – See image 1
Step 3:
Fussy cut three paint sample panels from the Radiant Life paper – See image 2
Step 4:
Add the paint samples to the base page. Fussy cut three floral images from the Glowing Up paper. Using the ‘01’ black fineliner pen, add doodling to the floral images. Adhere the floral images to the base page – See image 3
Step 5:
Add creative cuts and vellum creative cuts to the three clusters – See image 4
Step 6:
To finish, add two small heart rub-ons and some fussy cut images from the Radiant Life paper – heart, paint brushes and ‘create happiness’ sentiment.
