INTERNATIONAL SHIPPING AVAILABLE, RATES CALCULATED AT THE CHECKOUT - 30 day change of mind returns
INTERNATIONAL SHIPPING AVAILABLE, RATES CALCULATED AT THE CHECKOUT - 30 day change of mind returns
Add description, images, menus and links to your mega menu
A column with no settings can be used as a spacer
Link to your collections, sales and even external links
Add up to five columns
Add description, images, menus and links to your mega menu
A column with no settings can be used as a spacer
Link to your collections, sales and even external links
Add up to five columns
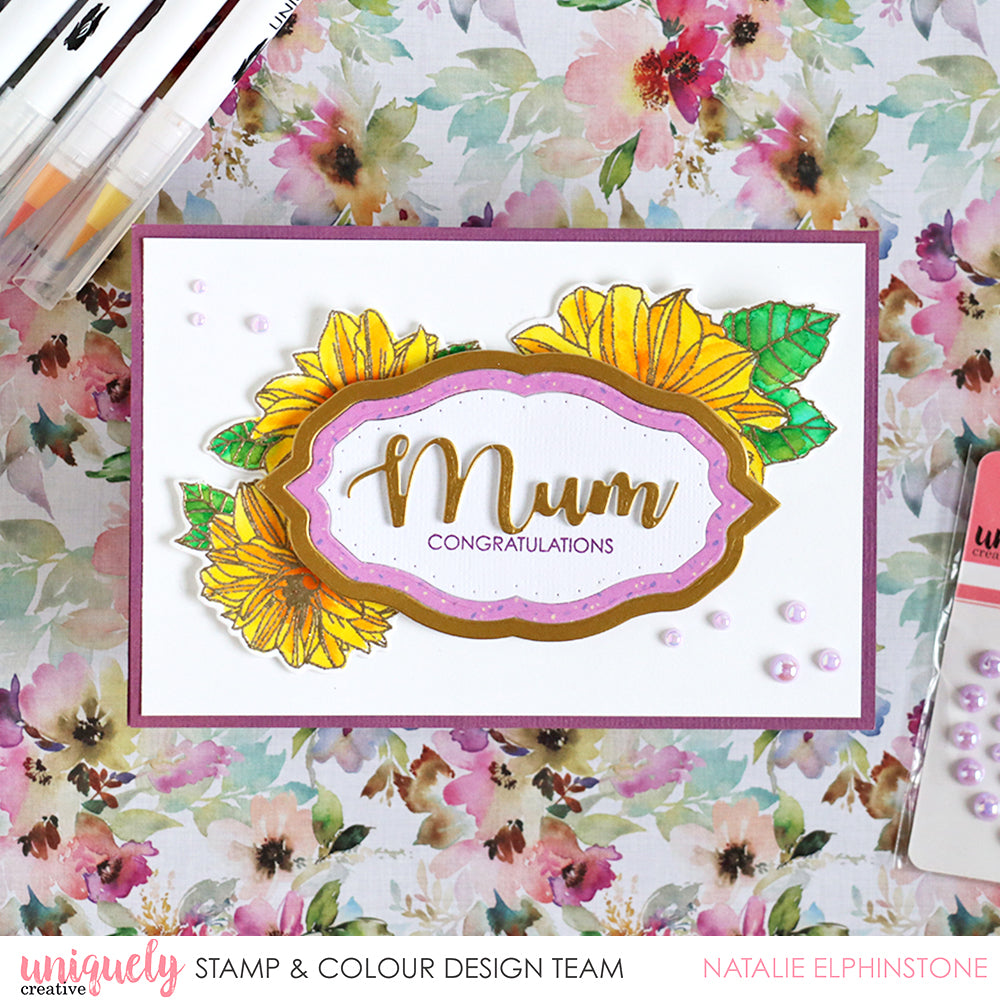
Floral Mum - Natalie Elphinstone
July 18, 2020

Card Size 6" x 4" (purple card base)
Uniquely Creative Products Used
Artisan Frames die set, Stitched Window Frames die, Sending Love stamp set and coordinating die, Kookaburra Party stamp set, Lavender pearls, UNIQOLOUR Markers, Watercolour paper, patterned paper from April S&C kit
Other Products Used
White cardstock, gold foil cardstock, purple ink, Versamark ink, gold embossing powder
Instructions
1. There’s 3 layers in the Artisan Frames die set, so I cut it out 3 times in different coloured cardstock – white will make a great foundation to put my sentiment on, purple will add a dash of coordinating colour, and the gold foil adds a touch of elegance.

2. I also make the base of my card – a folded piece of purple cardstock to make a 6"x4” card, and then I adhere a top panel of plain white cardstock, trimmed slightly smaller than 6x4” so that the purple card shows around the edges. I arrange the layers of Artisan Frame in the centre of the card, adhering them only in the middle so that I can still tuck images in behind it.

3. I stamp 3 flowers from the Sending Love stamp set onto watercolour paper with Versamark Ink, and use gold glitter embossing powder to fit with my touch of gold ;-) It didn’t matter to me that I didn’t stamp the whole flower image, because not all of it will be seen anyway! I coloured them in with UNIQOLOUR Markers, and then cut them out with the coordinating die.

4. Next I used the ‘mum’ die from the Stitched Window Frames set and cut it repeatedly – 4 times in white cardstock, and once in gold foil cardstock. I carefully glued each of these on top of one another with the gold on top – this gives a really nice thick and sturdy diecut.

5. I stamped the little ‘congratulations’ from the Kookaburra Party Stamp set with purple ink towards the bottom of the central panel, and then adhered the ‘Mum’ diecut above it. I’m forever making new baby cards so I love extending my regular supplies to fit the theme.

6. Last I assemble all the layers together, and finish off with some Lavender pearls.

Leave a comment
Newsletter
Join our mailing list and never miss an update …
