Hooray Tutorial - Ashleigh Freeston

Uniquely Creative Products Used:
- UC1883 Aussie Sports (& Friends) Stamp Set
- UC1884 Aussie Winners Stamp Set
- UCD2085 Aussie Sports (& Friends) Die
- UCD2086 Aussie Winners Die
- UCL1757 Aussie Sports (& Friends) Laser Cut
- Aussie Sports Cut-a-Part Sheet
- Aussie Sports Patterned Paper
- UCD1971 Slim Fancy Borders Die
- Scene Builder Clouds & Grass Mark Making Stencil
- Inspiring Slimline Embossing Folder
- UCD1974 Stitched Nesting Rectangle Die
- UCD1975 Scalloped Nesting Rectangle Dies
- Rectangle Cards & Envelopes
- Foam Mounts
- Cut-a-Part Essentials #5 Die
Other Products Used:
- Smooth white cardstock
- Black cardstock
- Distress Oxide: Tumbled Glass & Ripe Persimmon
- Paper Towel
- Water Spray Bottle
- Acetate Sheet
- Heat Tool
- Die Cutting Machine
- Adhesives
-
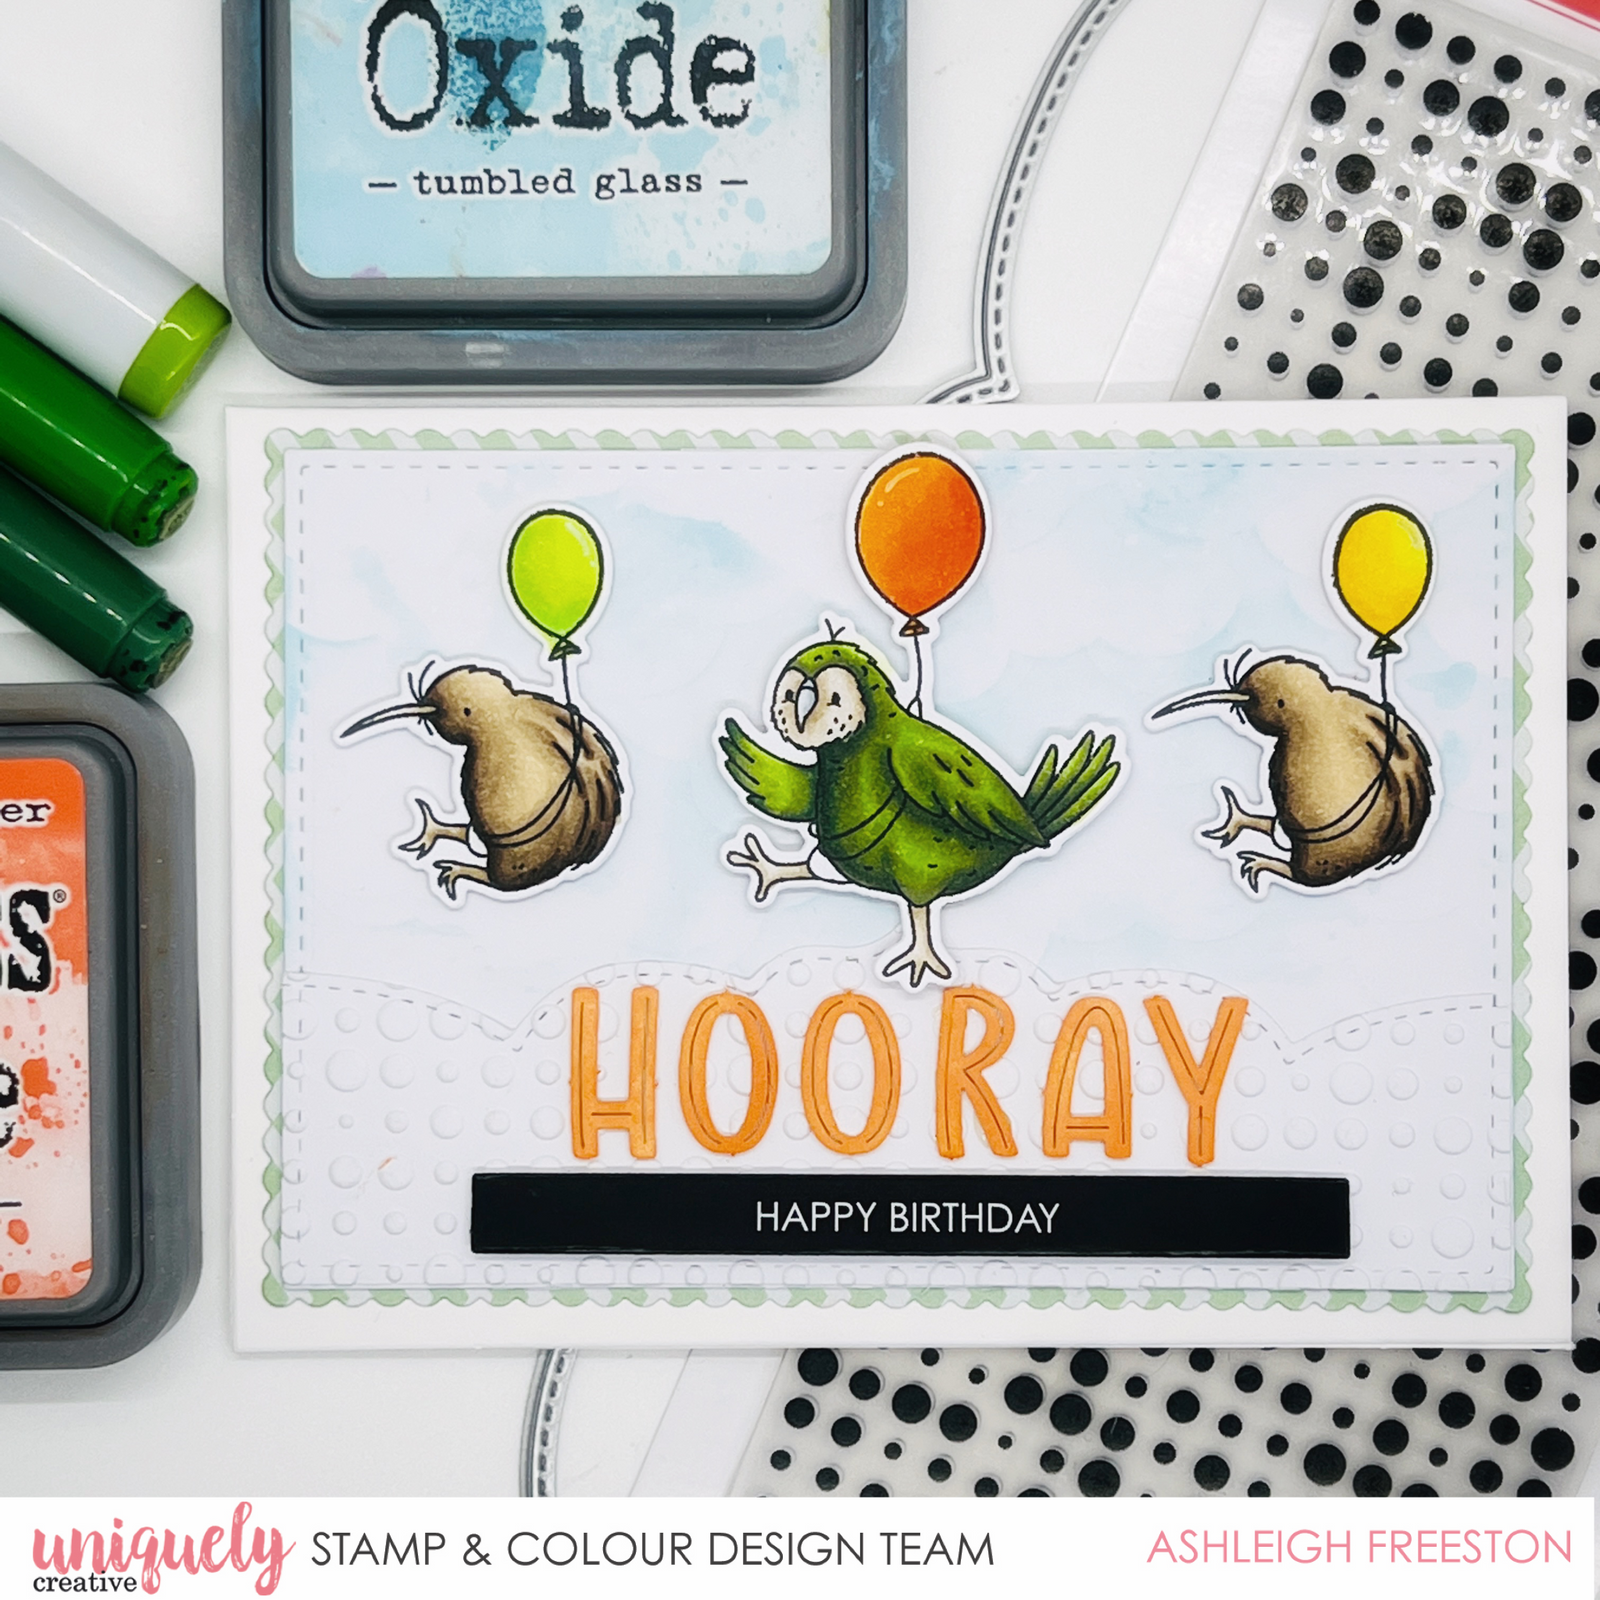
Copic Colours: Kiwi – E41, E42, E43, E44, E47, E49, Kakapo (bird) – E40, E42, E43 (face); C0, C1, C3 (beak); YG03, YG23, G94, BG96, G29, BG99 (green), Orange Balloon – YR04, YR07, YR09,Green Balloon – YG01, YG03, YG05,Yellow Balloon – Y02, Y23, Y15 Y19
Instructions:
1. Die cut stitched rectangle die from white cardstock. Die cut scalloped rectangle die from green chevron patterned paper.

2. Die cut slim fancy border from white cardstock. Emboss with Inspiring slimline embossing folder.

3. On white rectangle piece, smoosh Tumbled Glass Distress Oxide on acetate sheet and spritz with water. Turn over and press onto cardstock. Dry well with heat tool. Using blending brush and Tumbled Glass Distress Oxide, ink clouds from scene builder stencil to add more texture.

4. Colour images with the colouring medium of your choice (I used Copic markers). Fussy cut or die cut using the matching dies.

5. Die cut sentiment with Cut-a-Part Essentials #5 die. Ink laser cut sentiment with Ripe Persimmon Distress Oxide.

6. Adhere the background piece onto your scalloped patterned rectangle. Add the embossed border piece at the bottom. Adhere the cut-a-part sentiment with foam mounts and glue the laser cut sentiment. Finish the card by foam mounting the stamped images.
