How to Make an Envelope With Paper: 5 Easy Steps

Learning how to make an envelope with paper adds a personal touch to your finished card and enables you to customise envelopes to suit any occasion. It is also a fun and creative papercraft activity that is easy for beginners to master.
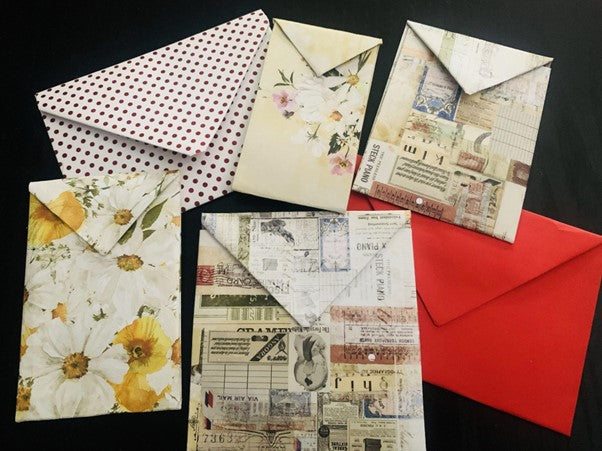
In our step-by-step tutorial guide, we will walk you through the process of making your very own DIY paper envelopes. It’s easy to get started, all you need is any kind of paper or cardstock, a paper trimmer or scissors and some glue or tape.
How To Make An Envelope: Step By Step
Step 1: Choose A Sheet of Paper
Select a piece of paper to use to create your envelope. This can be scrapbooking paper, A4 cardstock, A4 paper, a brown paper bag, wrapping paper, or some origami paper, the options are endless!

Step 2: Fold The Two Longer Sides Of Your Paper
Place your paper on your work surface. If using patterned paper ensure that the pattern you want to appear on the outside of your envelope is face down. Fold the paper in approx 1.5cm-2 cm on each side. Crease firmly.

Step 3: Fold The Bottom Flap of Your Paper Upwards
Now, fold the bottom of the paper up. Crease firmly. Unfold and apply glue or double-sided tape to the sides of the paper that you folded in Step 2. Fold up and apply pressure so that the sides of the card adhere.

Step 4: Fold The Top Flap of Your Paper Into Triangles
Fold down the top corners so that they meet in the middle forming triangles. Crease firmly. Lift up the left and right corners, apply glue or double-sided tape and then fold down again and hold until secure.

Step 5: Fold Down The Top Flap of Your Paper
Fold down this top flap that you have created and now your envelope is complete. You can use glue, double-sided tape or a sticker to hold the flap down once you have placed your card or letter inside.

How To Make an Envelope For A Card
One of the great things about making your own homemade envelopes is that you have control over the size and can make it suit your needs. You can make a small DIY envelope to suit a gift card or you can make a larger envelope to suit a greeting card, birthday card or Christmas card. It all comes down to your envelope template measurements.
To make the envelope the right size for your card, simply lay your paper on your work surface and then place your card along the bottom edge of the paper.
Ensure that your paper is approximately 2 cm wider than the card on both sides and approximately 2.5 times as tall as your card.
Once your paper is trimmed to the size you need, you can complete the envelope tutorial outlined above to create an awesome handmade envelope for your card.
It’s Time To Make Your Own Envelope
Making your own envelope with paper is an easy and fun way to add a unique and personal touch to your letters and cards. It offers a world of creative possibilities enabling you to choose the paper, colour, patterns and size to make your envelope unique.
By learning how to make envelopes, you can create bespoke designs for any occasion including Christmas, Easter or Valentine’s Day. Once you have mastered the steps, you can also begin experimenting with different paper types and textures to achieve different looks.
Why not show off your beautiful envelope-making skills? The recipients will love the extra effort and personal touch of this craft project.
19 Responses


viccin
April 03, 2025
hard